Bind the controls on your UX to fields in one or more existing tables.
Data Binding properties section of individual controls on the UX Controls page."/>Description
This page contains two main parts. The first part allows you to bind an existing table, or tables, from a database to the UX component. The second part lets you map, or "bind", controls in the UX component to fields in the existing table(s). This binding can also be done from the Data Binding properties section of individual controls on the UX Controls page.

For a video example that explains how to bind a UX component to an existing table watch this video or follow the guides below.
Specify Tables
Use this command once you have designed your UX and added controls to it. This command allows you to bind the controls in your UX to fields in one or more tables. The binding information that you specify using this command can then be used in the 'afterDialogValidate' event to save the data that the user submitted to the tables.
Bind the Component to an Existing SQL Table
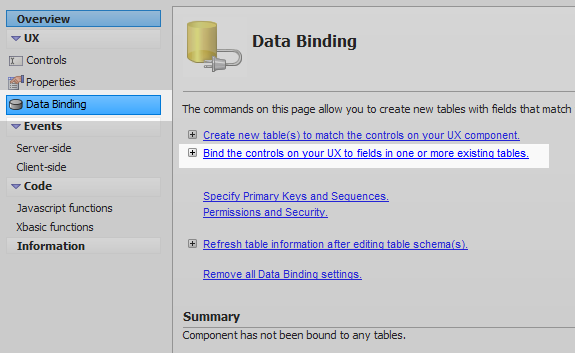
In the UX Builder open the Data Binding page from the main menu.
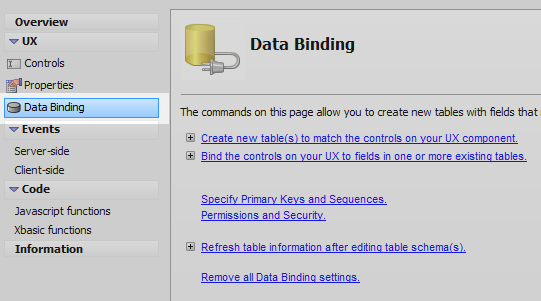
On the Data Binding page click on the 'Bind the controls on your UX to fields in one or more existing tables'.
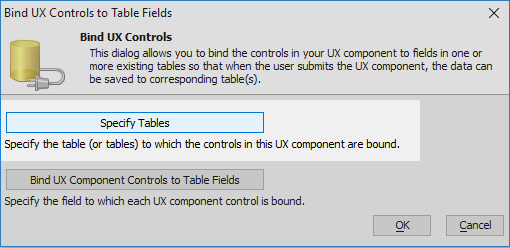
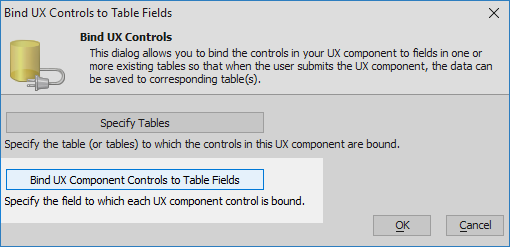
Click the 'Specify Tables' button.
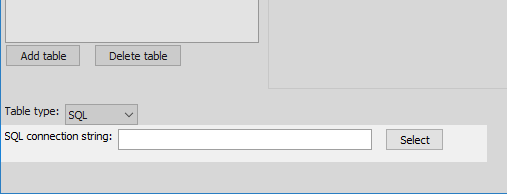
In the lower left of the 'Select Table(s)' dialog click the 'Table type' dropdown and select 'SQL'.
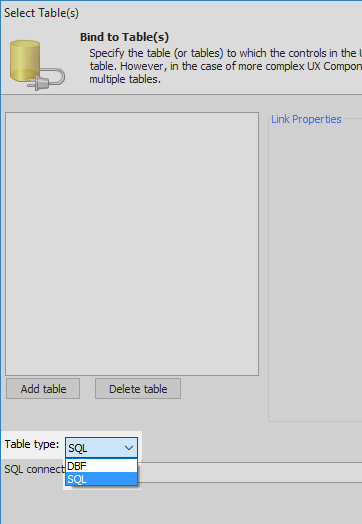
At the bottom of the 'Select Table(s)' dialog click the 'Select' button next to the SQL connection string textbox control.
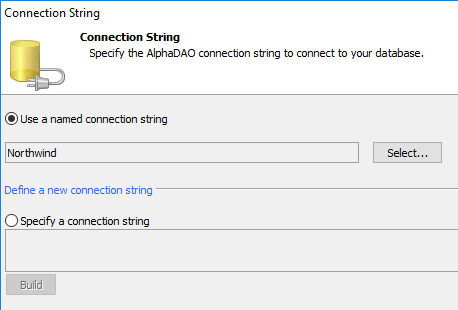
Create a connection string to the Northwind database and click OK.
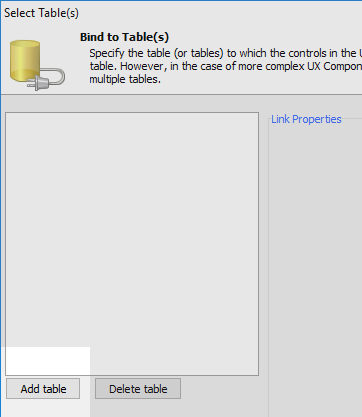
Click the 'Add table' button.
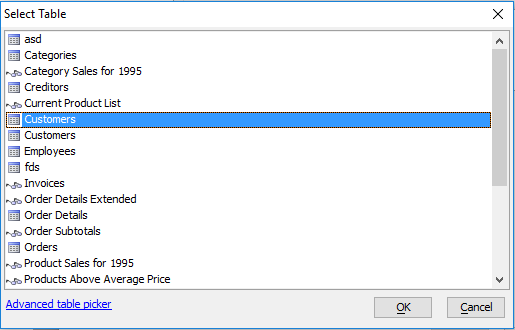
Click the 'Select' button.
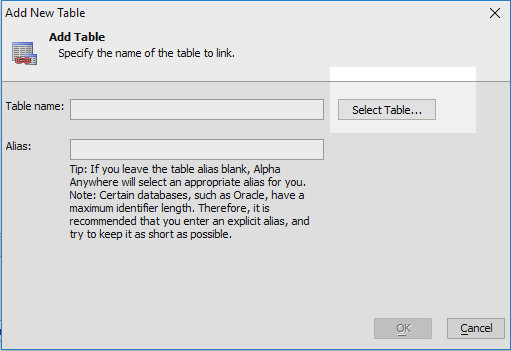
Select a Table from the Northwind database, like the 'Customers' table, and click OK.
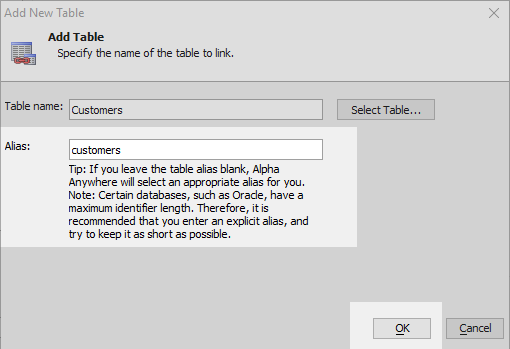
Add an Alias for the table, such as 'customers', and click OK.
Bind UX Controls to the Specified Data Bound Table
Create The Controls to be Bound
Once a link to an existing data bound table has been defined you can click the button shown below to match controls to fields in that table. This section is a continuation of the 'Specify Tables' section above it.
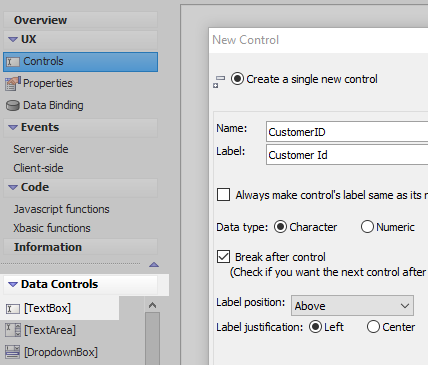
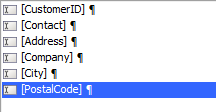
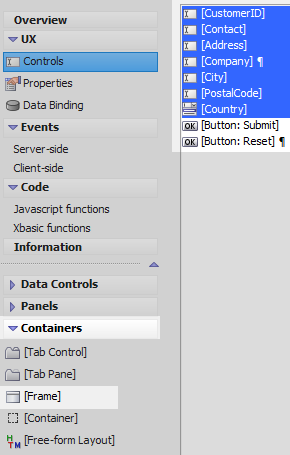
It is necessary to first create the controls before they can be assigned. On the UX Controls page open the 'Data Controls' menu. Click on the [TextBox] option to add a textbox control to the component. Give this textbox the name and label of 'CustomerID'
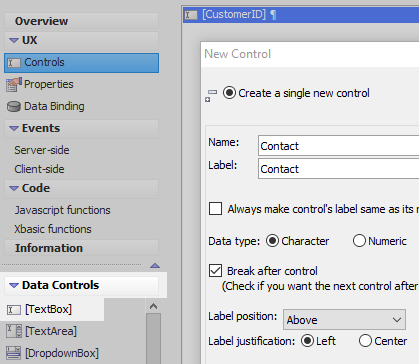
Add a second [TextBox] control to the component with the name and label 'Contact'.
Add four more [TextBox] controls with the names 'Address', 'Company', 'City', and 'PostalCode' to the component. Set the label for each control to match the name.
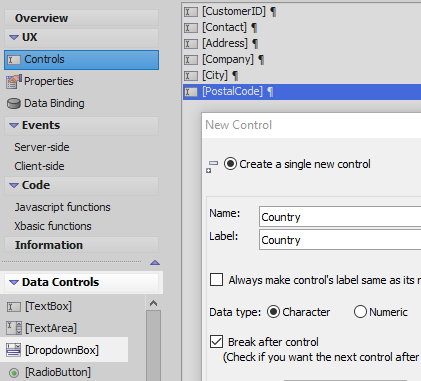
In the Data Controls menu click on the [DropdownBox] option to add a dropdown box control. Give this control the name and label of 'Country'.
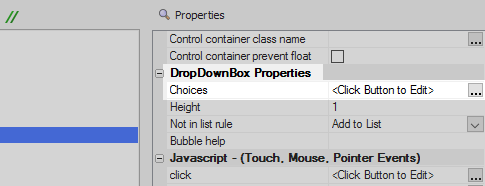
Highlight the dropdown box control in the controls tree. In the DropDownBox Properties section in the properties list on the right click the [...] button next to the 'Choices' property.
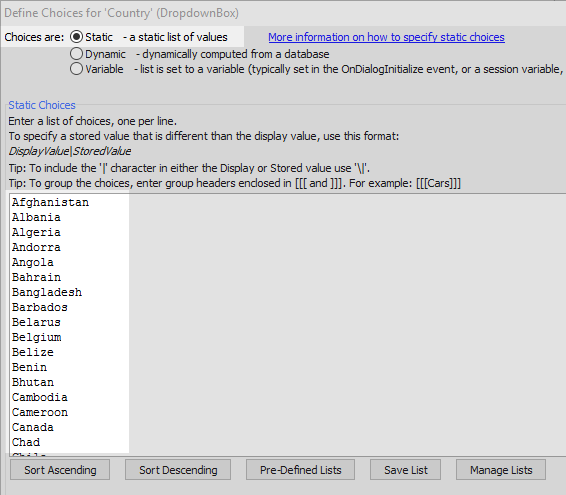
Select the 'Static' in the 'Choices are' menu. In the Static Choices area create a list of countries to choose from when the dropdown box is clicked, like the incomplete list shown below. Each entry should be on its own line. Click OK
Afghanistan
Albania
Algeria
Andorra
Angola
Bahrain
Bangladesh
Barbados
Belarus
Belgium
Belize
Benin
Bhutan
Cambodia
Cameroon
Canada
Chad
Chile
China
Eritrea
Estonia
Ethiopia
Finland
France
Haiti
Jamaica
Japan
Jordan
Liechtenstein
Lithuania
Luxembourg
Marshall Islands
Mauritania
Mauritius
Mexico
Micronesia
Namibia
Nauru
Nepal
Netherlands
Oman
Pakistan
Palau
Panama
Papua New Guinea
Qatar
Romania
Russia
Rwanda
Saint Kitts and Nevis
Saint Lucia
Samoa
San Marino
Taiwan
Tajikistan
Tanzania
Thailand
Uganda
Ukraine
United Kingdom
United States
Vanuatu
Venezuela
Vietnam
Yemen
Zambia
Zimbabwe
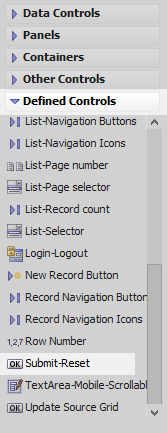
Open the 'Defined Controls' menu and click the 'Submit-Reset' option to add an Submit button and a Reset button to the component.
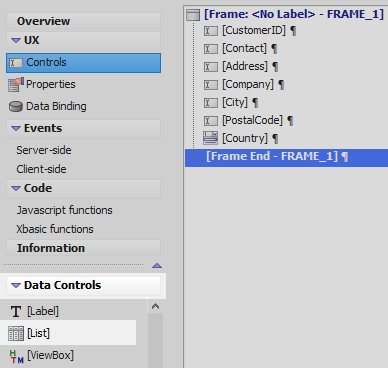
Highlight all of the data controls in the controls tree. Open the 'Containers' menu and click on the [Frame] option and click OK to add a frame around the controls.
Bind the Controls to the Table.
Open the 'Data Binding' page from the UX Builder's main menu. Click on the 'Bind the controls on your UX to fields in one or more existing tables' button.
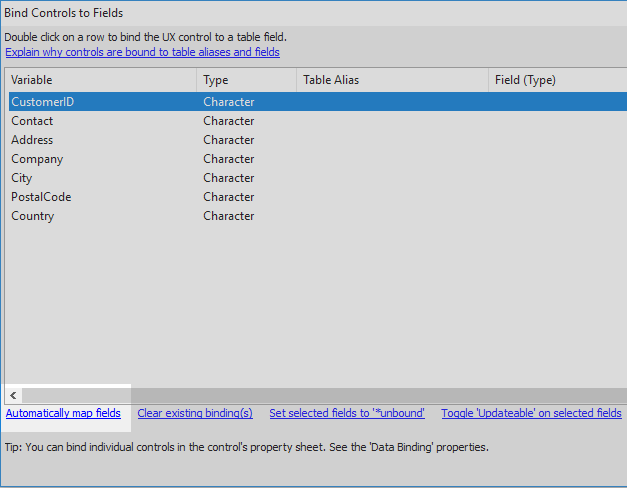
Click the 'Bind UX Component Controls to Table Fields' button.
In the lower left corner of the 'Bind Controls to Fields' dialog click the 'Automatically map fields' button. Any fields that match the name of the controls you defined in the section above will be linked to those controls.
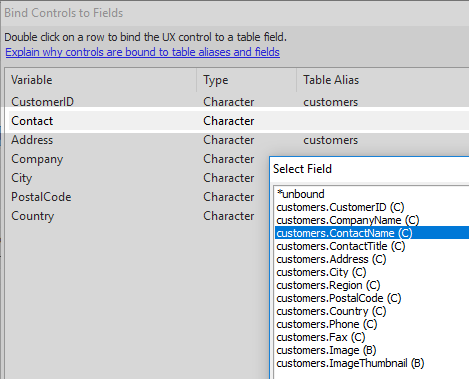
Double click on the 'Contact' variable. From the list that appears select the 'ContactName' field and click OK.
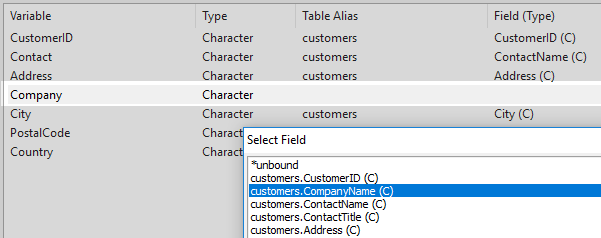
Double click on the 'Company' variable. From the list that appears select the 'CompanyName' field and click OK, OK, and OK again.
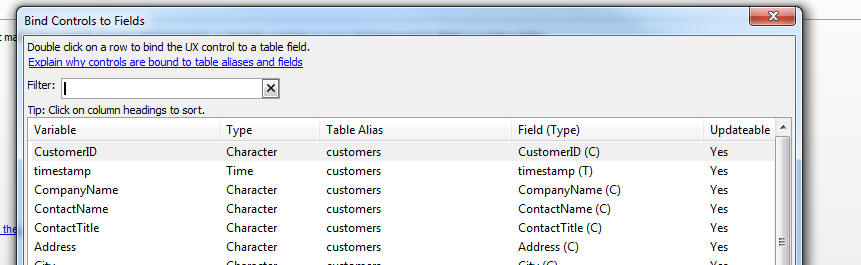
Filtering Controls in the List
If your component has a large number of controls, the Filter can be used to search for controls. You can also sort the fields by clicking on the column header in the Bind Controls to Fields window.
Add a List Control to Display Changes
You can also view changes using the debugger
Open the UX Controls page again and again open the 'Data Controls' menu. Click on [List] to add a list control to the component.
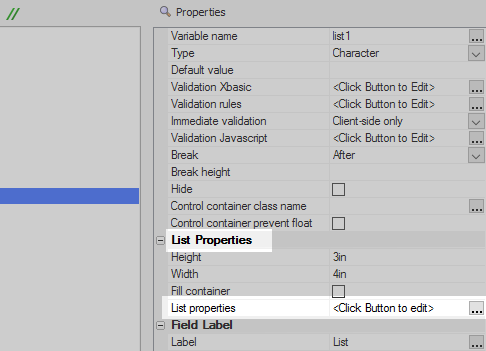
Highlight the list control. In the properties listed on the right click on the [...] button next to the 'List properties' property in the List Properties section. The List Builder should open.
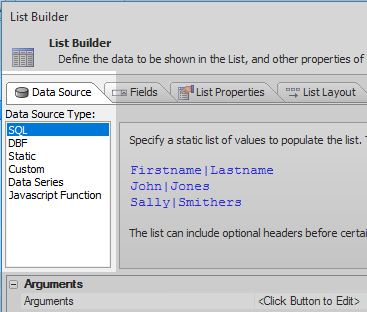
On the List Builder's 'Data Source' pane select 'SQL' in the 'Data Source Type' menu.
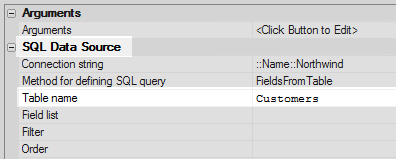
In the pane's properties section click the [...] button next to the 'Connection string' property. Create a connection to the Northwind database.

Click the [...] button next to the 'Table name' property. Select the 'Customers' table and click OK.
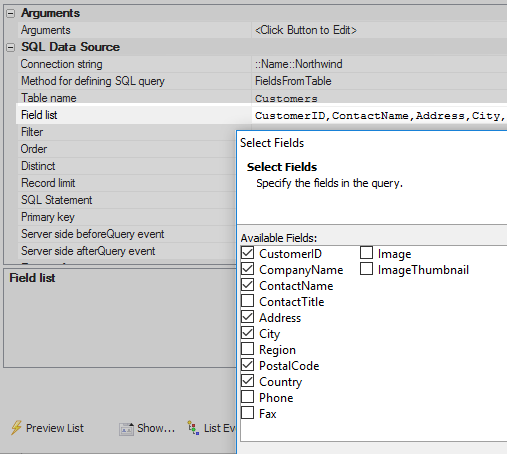
Click the [...] button next to the 'Field list' property. Select the 'CompanyName', 'CustomerID', 'ContactName', 'Address', 'City', 'Country', and 'PostalCode' fields.
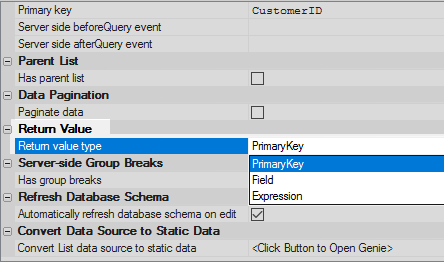
Scroll down to the 'Return Value' section of the list. Click the dropdown next to the 'Return value type' property and select the 'PrimaryKey' option.
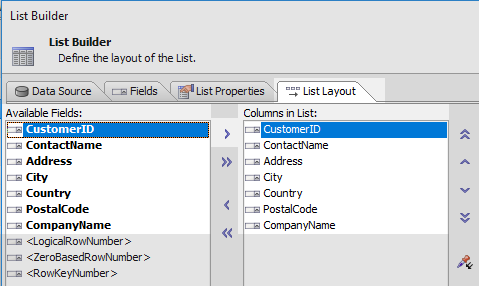
Open the 'List Layout' pane. Use the blue > arrow to move all of the data fields from the 'Available Fields' list to the 'Columns in List' section. Click OK to close the list builder.
Save Changes on the Server
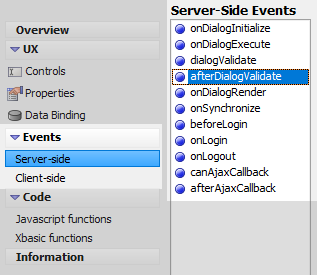
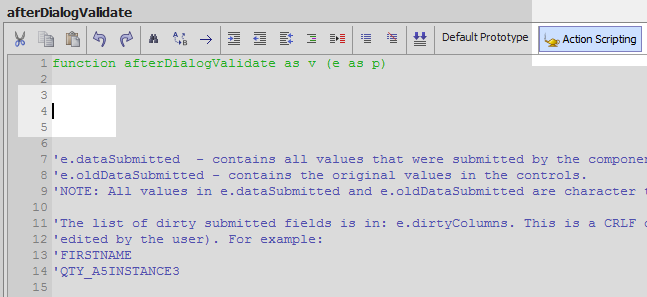
In the UX Builder's main menu in the 'Events' section open the 'Server-side' page. In the 'Server-Side Events' menu click on the 'afterDialogValidate' event.
Place the cursor inside the function definition for the 'afterDialogValidate' event. Click on the 'Action Scripting' button in the top-right part of the toolbar.
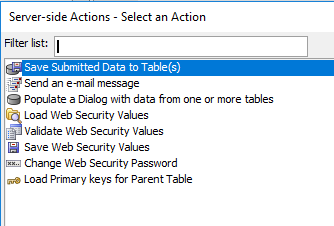
From the available actions select the 'Save Submitted Data to Table(s)' option and click OK.
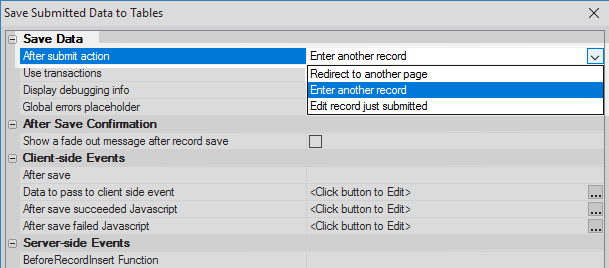
In the action's properties list under the 'Save Data' section click the dropdown next to the 'After submit action' property and select 'Enter another record'.
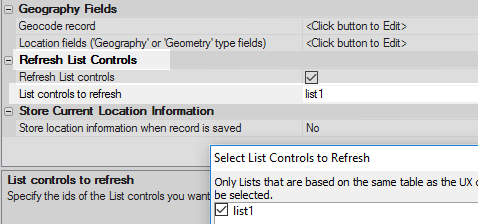
Move down the action's properties list to the 'Refresh List Controls' section. Check the checkbox next to the 'Refresh List controls' property.
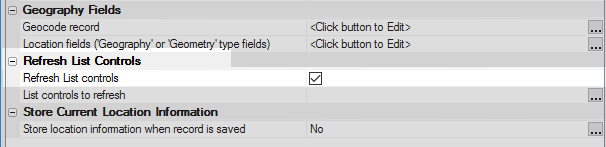
Click the [...] button next to the 'List controls to refresh' property. Select the list you defined, in this case 'list1'. Click OK
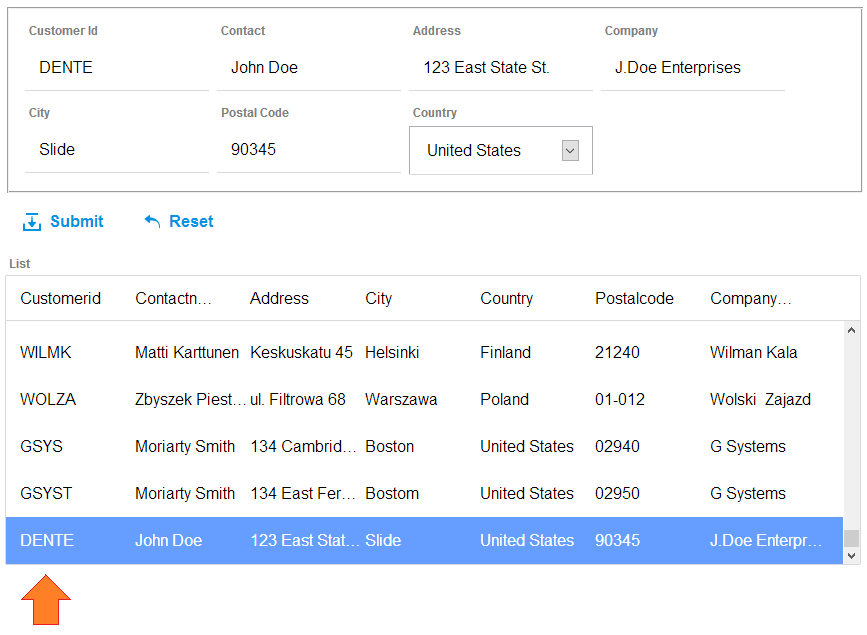
Run the component in Live Preview. Enter information into the fields inside the frame and click Submit.
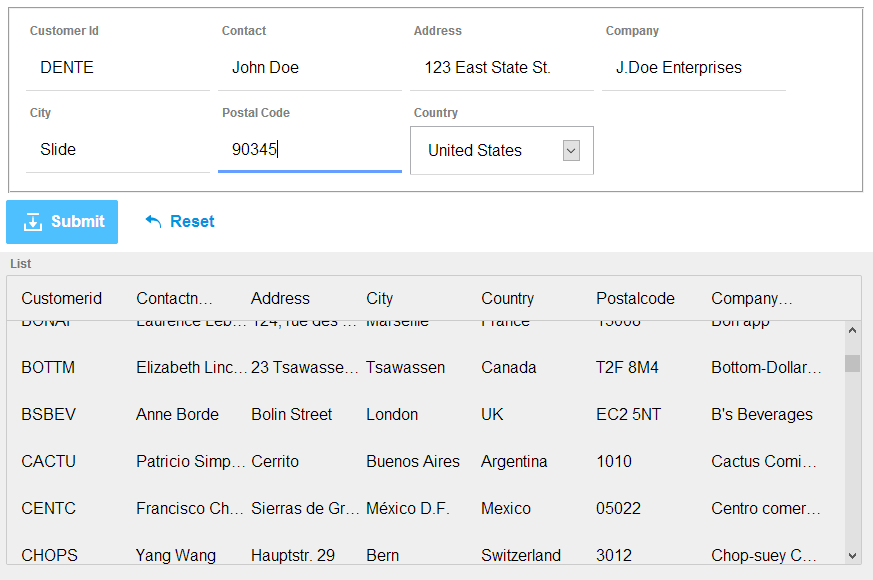 It might be necessary to adjust the toggle settings between controls and the width of the list control and the frame control on the UX Controls page
The new data should appear in the existing customers table.